Cover Your Bases

Photo credit: Keri Bascetta
You can baby your skis all you want, but sooner or later, bases are going to get nicked. At the end of a given ski day, you could walk away with minor scratches caused by gravel mixed in with the snow around the base area, or major gouges courtesy of not-quite-covered rocks and cliff bands. Best practice is to inspect your skis’ bases at the end of every ski day and check for scratches exposing the core of the ski—that kind of base damage should be addressed immediately, as moisture will begin to rot the exposed wood core.
“Minor base repair can be done at home, but scratches that go all the way down to the core or gouges that expose the ski’s edge are something to have a professional look at and take care of,” says Leif Sunde, experienced ski technician and cofounder of the Denver Sports Lab.
Minor scratches you may observe or feel while running your fingers up and down the bases—something that could catch your fingernail but doesn’t expose the core—that kind of damage is something you can easily repair yourself. Sticks of polyethylene base material, or P-Tex, can be found at any ski shop. Sunde recommends using the black variety because it’s the purest and contains fewer additives than colored P-Tex sticks. Then, all you need is a few more supplies and a well-ventilated workspace, and you’re ready to start melting P-Tex onto the damaged base area. While the process is fairly easy, it requires a steady hand and ample caution.
Related: 3 Ski Tuning Myths Debunked
How to Repair Ski Base Damage with P-Tex
Supplies: P-Tex; box cutter/razor blade; metal scraper; butane torch
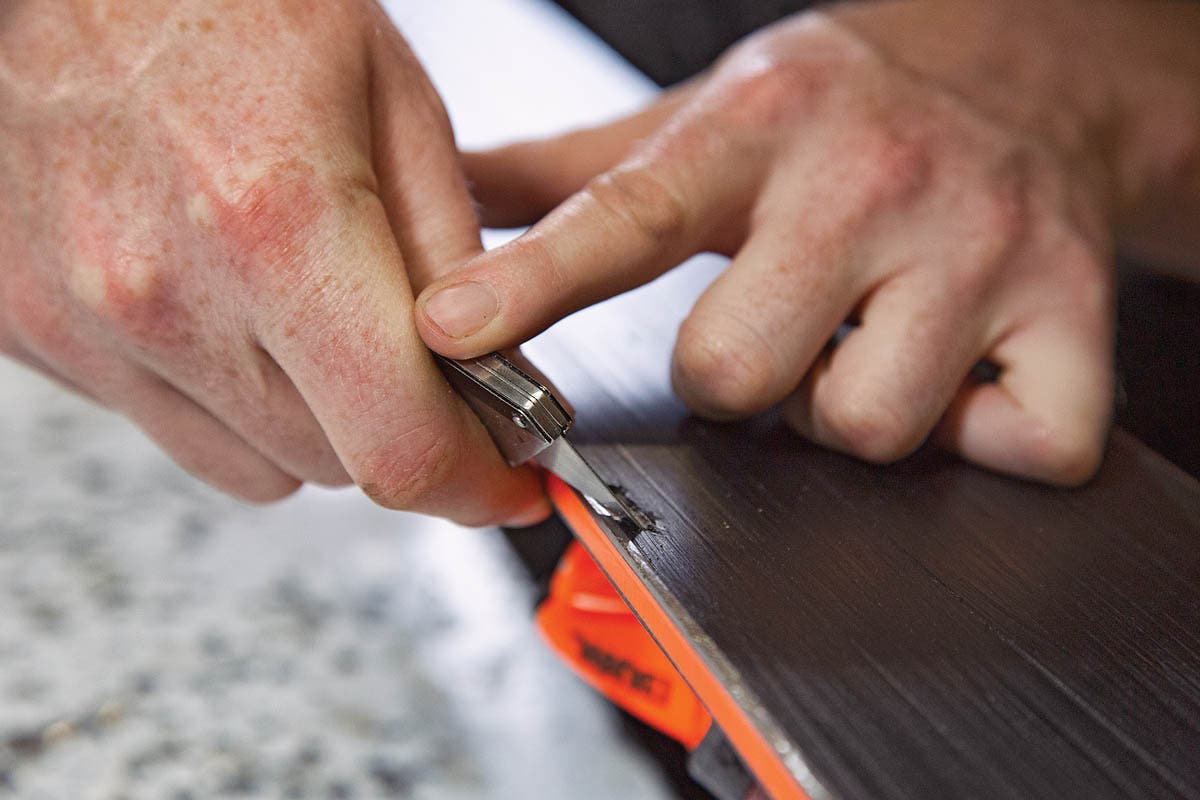
- Step 1: With a box cutter, cut away damaged base material surrounding the gouge to leave the surface as smooth as possible and optimize the area for the P-Tex to bond to.

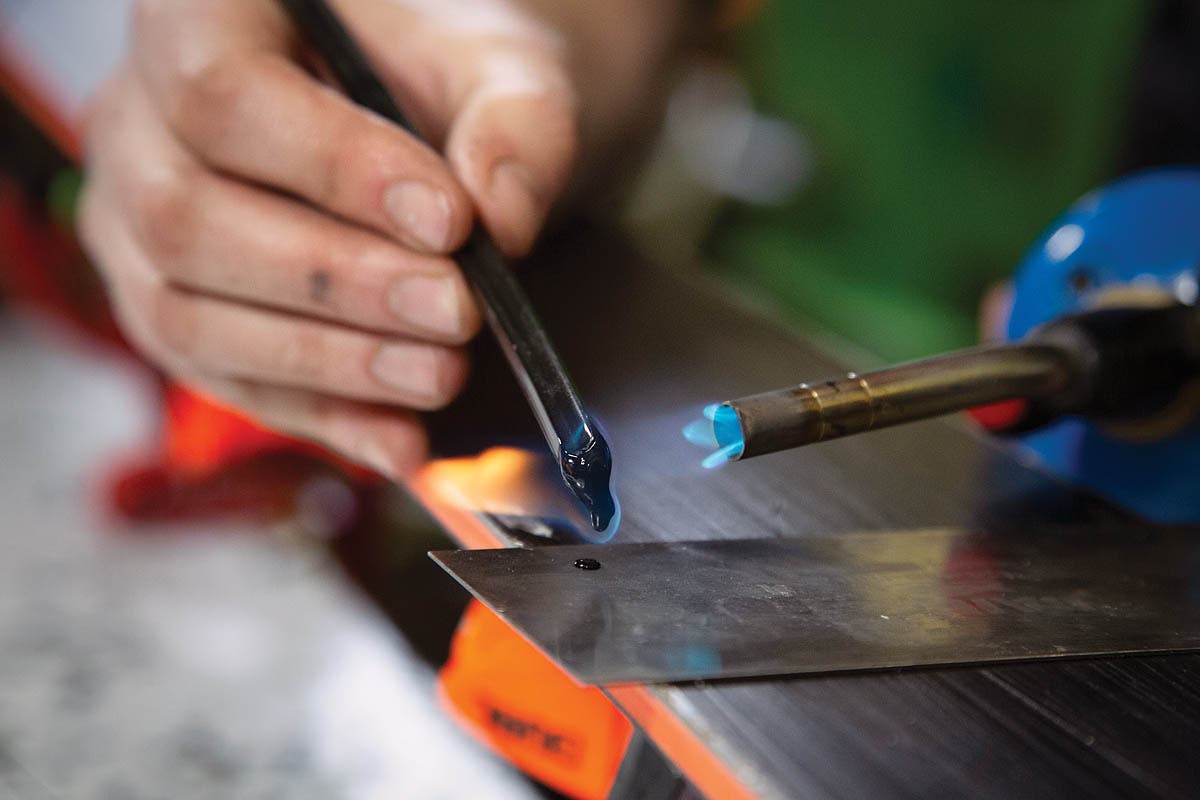
- Step 2: Heat P-Tex with butane torch over a metal scraper to catch dripping P-Tex; look for a blue flame rather than an orange flame (indicates the P-Tex is burning itself rather than acting as a combustion agent). Once P-Tex is heated, set aside butane torch.

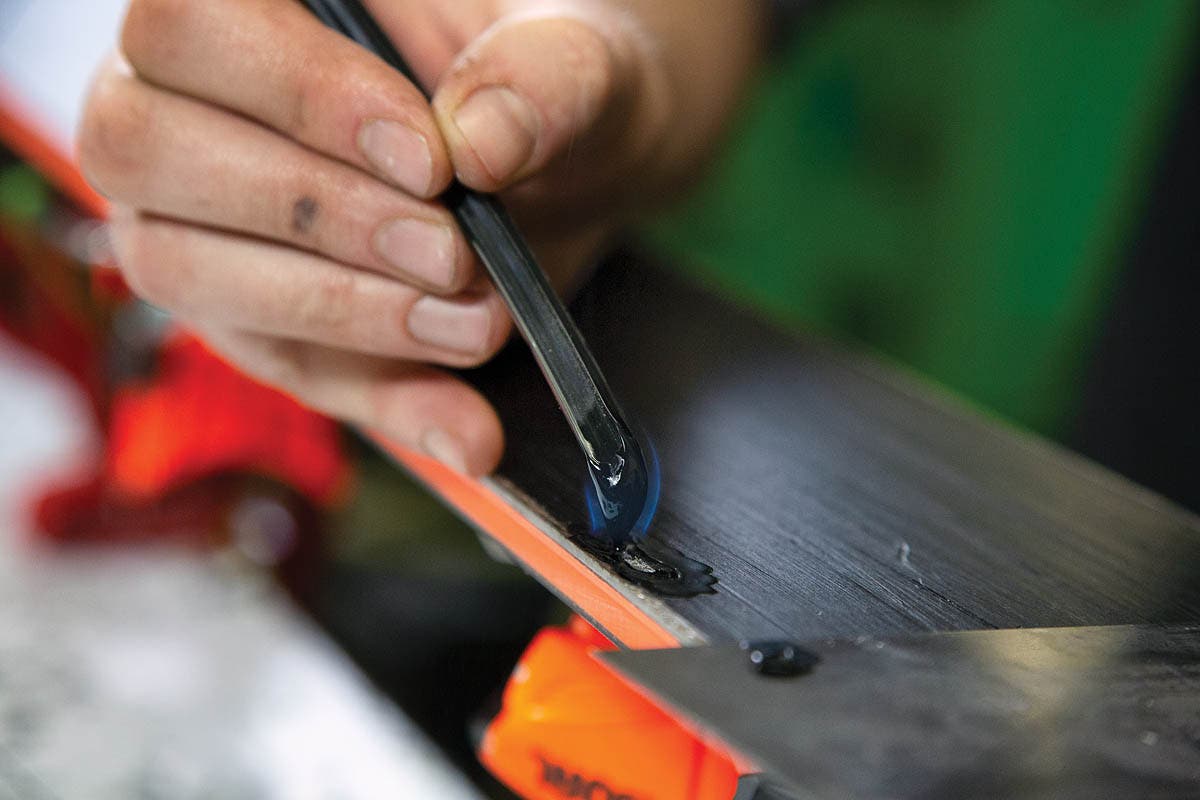
- Step 3: With P-Tex carrying a blue flame, drip P-Tex in concentric circles from the outer rim of the gouge to completely fill damaged area. This allows the P-Tex to build upon itself.

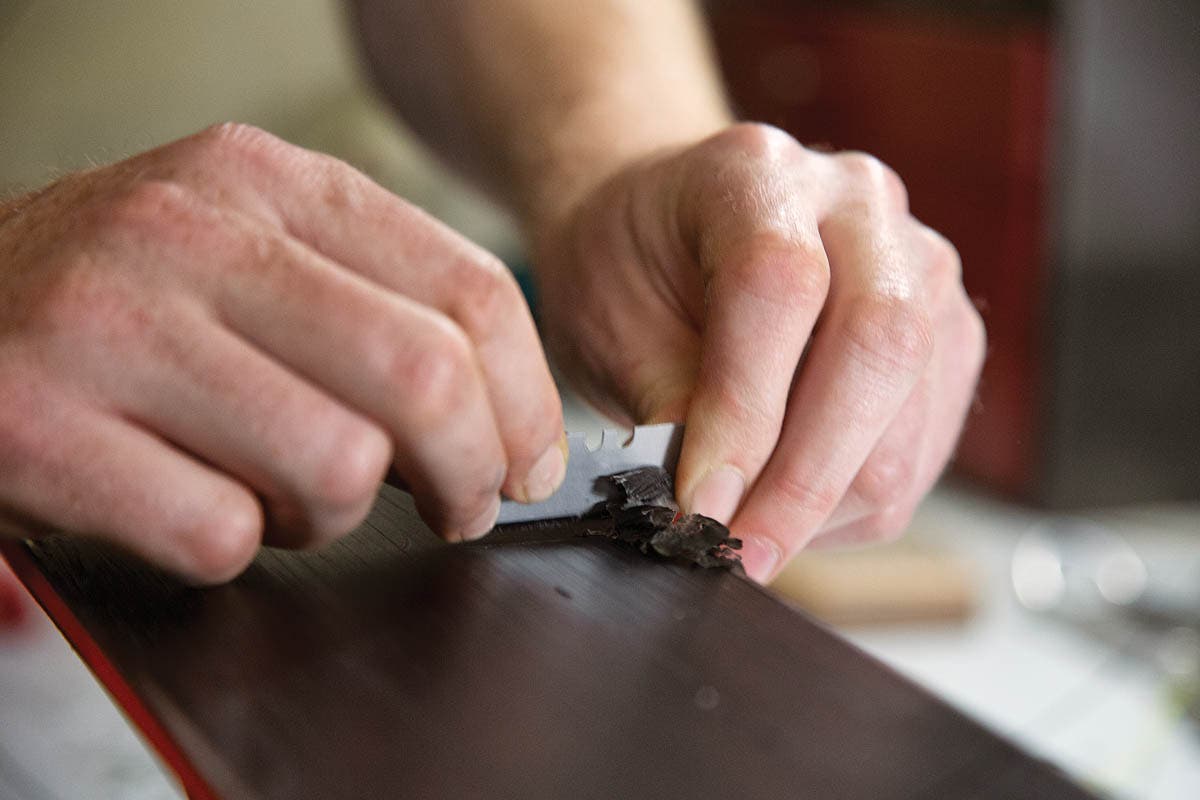
- Step 4: Once P-Tex is cooled (about 20 minutes), plane repaired area with a razor blade or metal scraper to remove excess P-Tex. Work tip to tail over repaired area until flush with base. Finally, apply a fresh coat of wax over the entire base for enhanced hydration and glide.

Revisit: Waxing 101
Meet the Technicians
Leif Sunde and Sam Petty are highly experienced ski technicians who cofounded the Denver Sports Lab in Golden, Colo. to make Olympic-level tunes available to the public.
Want more tuning tips? Join SKI and Warren Miller Entertainment’s Inside Edge to get access to exclusive member content, including an on-demand video library featuring instructional and skills videos. Learn more here.