Updated February 21, 2024 01:09PM
Learn How to Carve Like Marcus Caston In 6 Basic Steps
Mastering the carve ski turn not only presents a challenge but also offers significant benefits, including improved balance, speed, and overall enjoyment on the slopes.
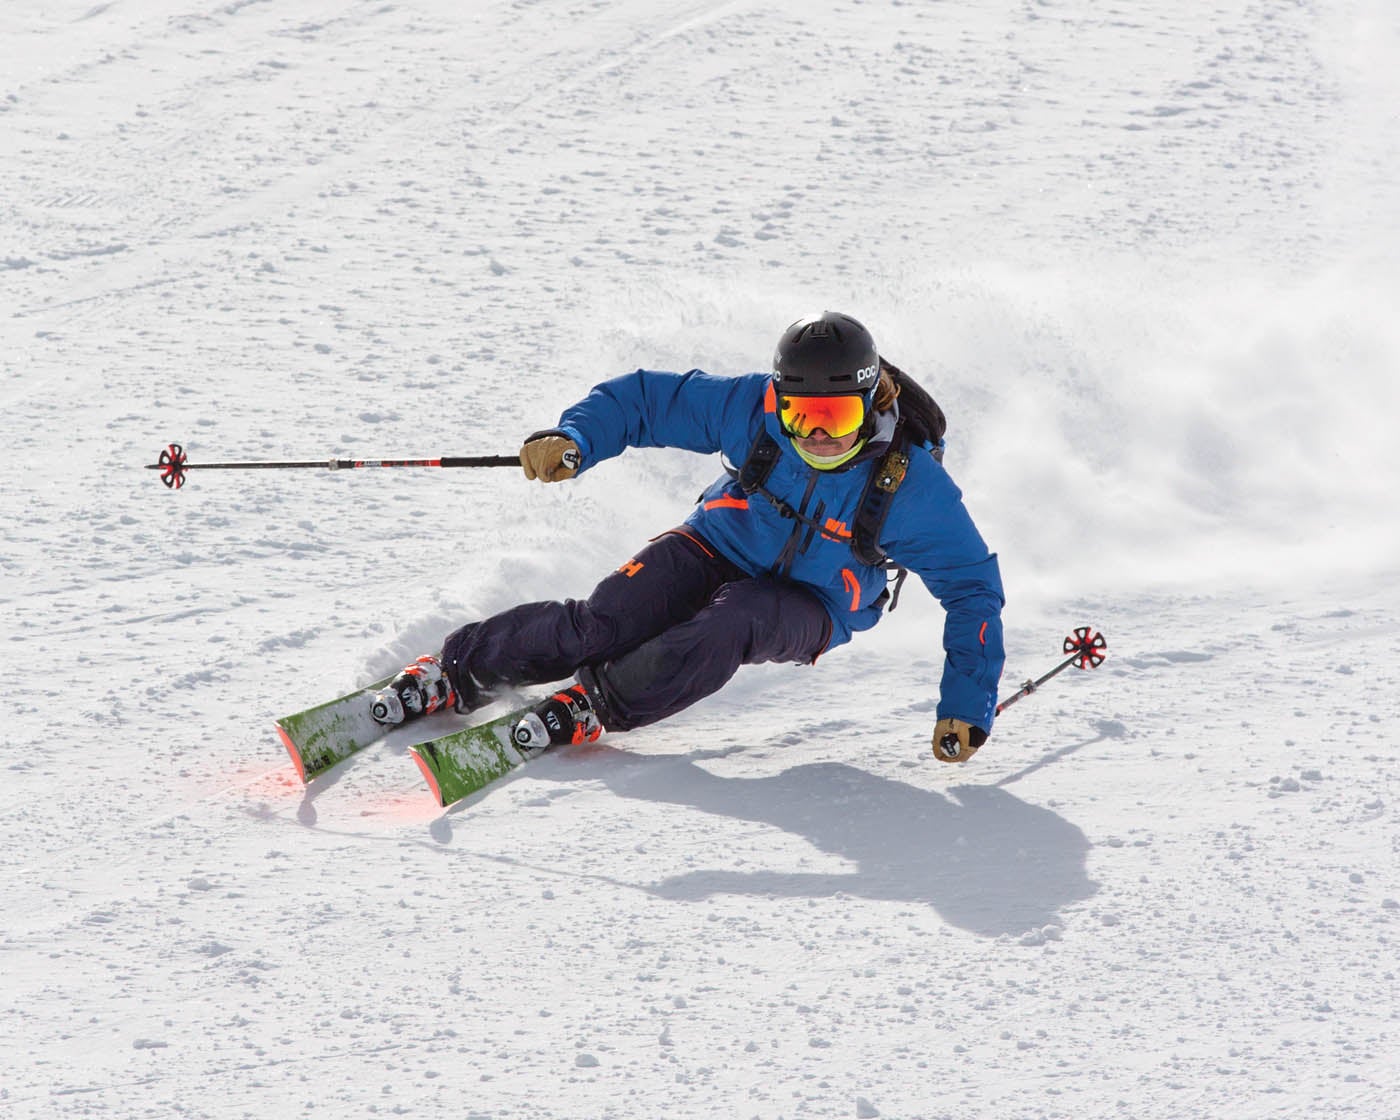
(Photo: Keri Bascetta)
Locking into a nasty arc is one of life’s greatest joys. To carve a ski turn feels like flying a fighter jet and peeling the plastic off your new phone. Luckily, current ski technology has made carving turns more obtainable than ever before, and yet, sadly, most skiers have trouble experiencing the feeling of a true carve. No matter how athletic or talented you are, you can’t just go out there and make a turn. It takes thought, time, and a little effort to figure it out.
On that topic: 10 skis that can teach you how to carve
Start slow on the bunny hill and cat tracks, and work gradually to add more tilt and speed. Embark on this journey with a friend and take turns videoing one another to help dissect your technique. Sound hard? It is, but you shouldn’t feel discouraged. Knowing how to carve a turn will take your skiing to the next level. You will be more balanced on your skis, more comfortable at speed, and able to ski variable terrain more consistently. In other words, you’ll have fun in any conditions and look good doing it. Your hard work will pay off, and when you trench that first turn, you will know it.
ADVERTISEMENT
But don’t take my word for it, take Sheryl Crow’s: After all, the first carve is the deepest. Just maybe that’s what she would have sung if she were a skier. Hey Sheryl, there’s still time.
The 6 Fundamentals of Carving
1. Establish a balanced platform.
Establish balance and pressure on the skis. Flex your shins into the boots, then roll the skis on edge, allowing the skis to bend up into the fall line.

2. Roll your ankles.
A carved turn starts with rolling the ankles first, then directing your knee and hip into the hill. To activate the ankles, think about shifting weight from your pinky toe to your big toe.

3. Use the force.
As you enter the apex of the turn, momentum will want to pull you outside the turn. To maintain balance, square your hips to the centrifugal or “G” force.

ADVERTISEMENT
4. Pinch the donut.
Some call them love handles, I call it where my donuts go. Paint the donut between your hip and rib cage to maintain or add pressure to the outside ski. Think of forming a “C” shape between your upper body and hip.

5. Be patient—let the skis come to you.
Let the skis finish the turn. The energy you created bending the skis in the apex will release them right back underneath you.

6. Move your body down the fall line.
In the transition between turns, square your hips and shoulders to the direction of travel. Every turn starts here; don’t start your turn from an unbalanced position. You will never get it back.

ADVERTISEMENT
Marcus Caston is an Inspirational Ski Consultant based in Salt Lake City. After 10 years of coaching freeride and race camps, Caston has developed a coaching philosophy based on building a solid foundation of fundamentals yet leaving room for personal expression. Check out partybeachskicamps.com for more info.
Learn More
Learn how to tip ’em and rip ’em with these carving drills
Are you carving or skidding down the hill? Here’s how to tell
The best ski instruction tips of 2021 happen to be timeless