Published February 25, 2020 02:46PM
If you buy through our links, we may earn an affiliate commission. This supports our mission to get more people active and outside.Learn about Outside Online's affiliate link policy
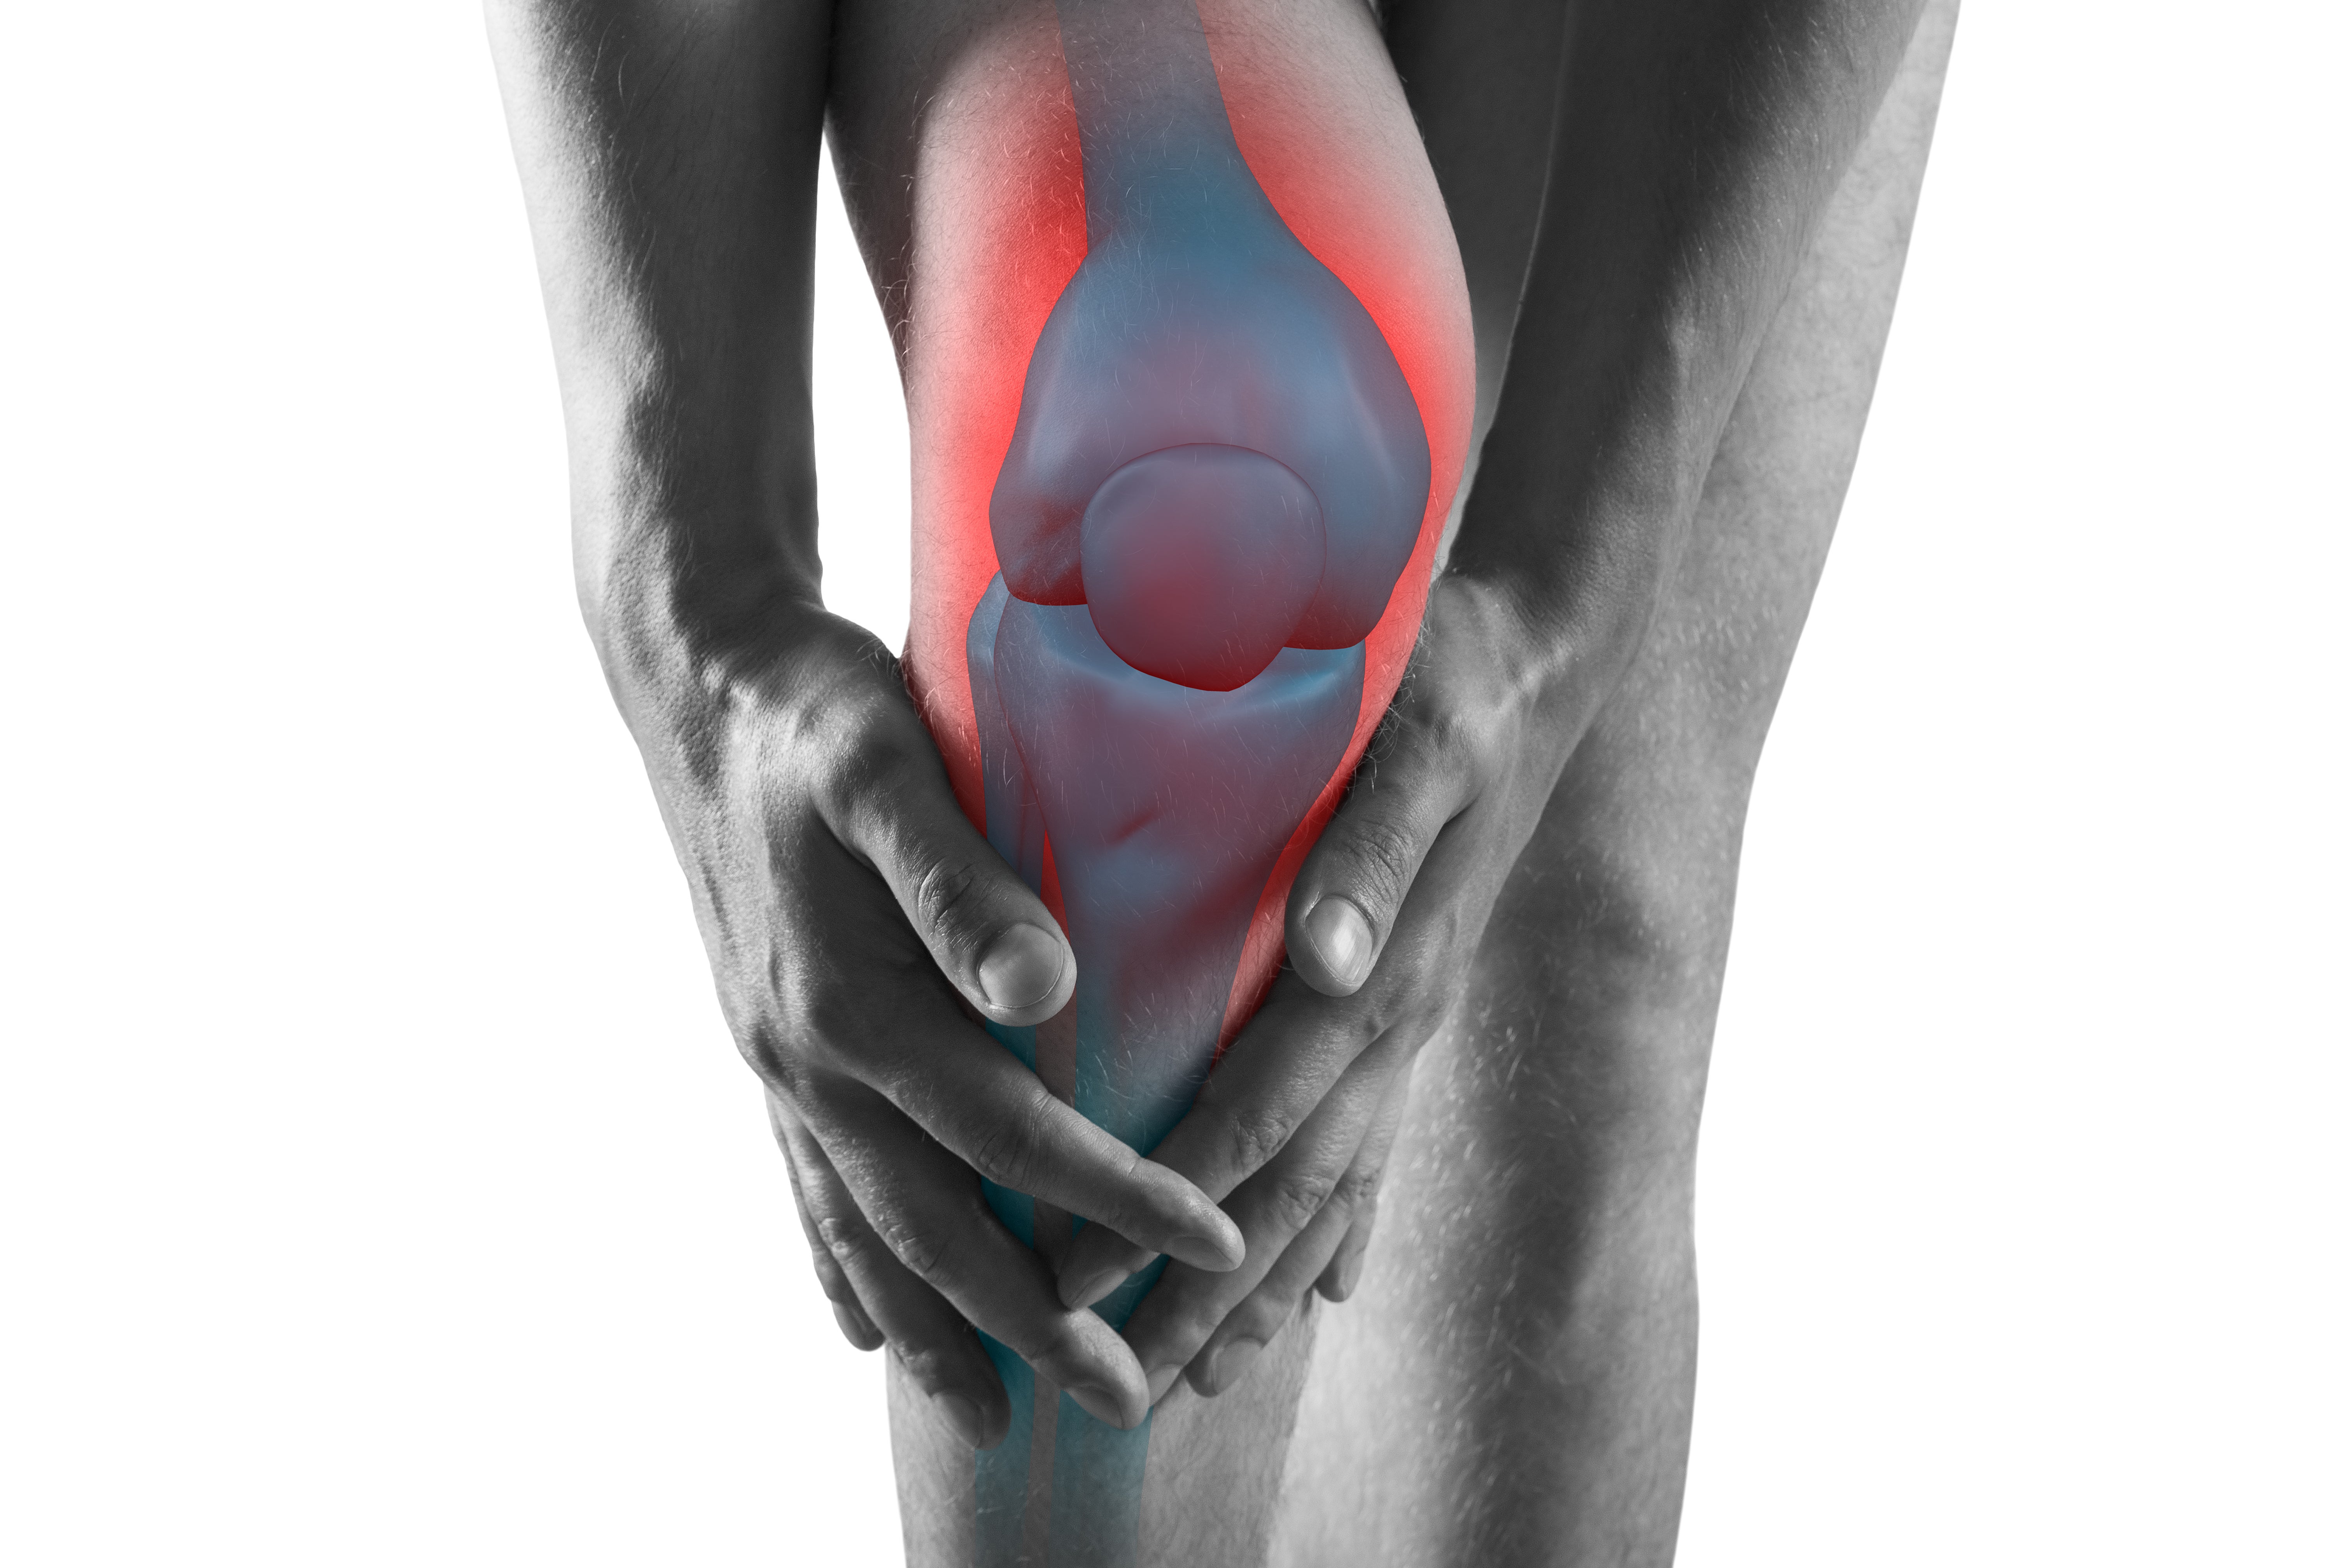
DIY Physical Therapy for Skiers
Four household items that can help relieve aches and pains.
Knee pain, man with legs ache, chiropractic treatments concept with highlighted skeleton, isolated on white background
I’ve torn three ACLs, one meniscus, one shoulder labrum, and broken a collarbone (only the first four injuries were a result of skiing, I should add). Now, when I get off the hill after a day of skiing, I feel like an 85-year-old. I’m 32.
While it’s hard to see the silver lining of injuries I know will come back to haunt me later in life, there’s been an upside to wrecking myself: I’ve learned a lot of recovery tricks from the hundreds of hours of physical therapy that ensued each tear and break. I’ve been the guinea pig for new-fangled PT practices like blood flow restriction therapy and dry needling with electrical stimulation, but I’ve also had a sink plunger used on me (more on that below).
ADVERTISEMENT
At the end of the day, I’ve found that the most helpful therapy methods are those you can replicate yourself at home. Turns out, you don’t need to buy expensive recovery tools—you can do a lot of body maintenance with the help of a few household items. Here are some PT hacks I picked up throughout the years—all of which, I assure you, were suggested by professional, fully licensed physical therapists.
Break up scar tissue with a spoon.
Scar tissue—thick, fibrous tissue that develops around incisions and at the site of significant injuries—can be a source of discomfort and pain long after an injury or surgery:
- Scar tissue can limit range of motion because the thicker, damaged tissue isn’t as elastic as healthy tissue, causing stiffness and discomfort especially around joints.
- Scar tissue can also impede on nearby nerves, restricting the blood supply to those nerves and thereby causing nerve pain.
Months after my ACL surgeries, I suffered from constant stiffness and limited range of motion in my knee caused by scar tissue that had formed along the incision on the front of my kneecap, where surgeons had harvested my patellar tendon for the ACL reconstruction. To alleviate the stiffness and gain back range of motion in the joint, my physical therapists performed the Graston Technique on and around my affected knee.
For the Graston Technique, therapists use a blunt stainless-steel tool to scrape over scar tissue in an effort to mobilize the soft tissue beneath the skin. While this form of manual therapy can feel weird and even a little painful at first, I find it provides significant relief from stiffness and pain.
ADVERTISEMENT
Graston Technique instruments can range from $25 to $80, but here’s the thing: a regular spoon gets the job done just as well. Simply apply some lotion or coconut oil to the skin and use the rounded, underside edge of the spoon to gently scrape over the scar tissue area in short strokes. This kind of manual therapy is intense, so don’t overdo it—perform for a few minutes, tops.
Ice with Dixie cups.
We all know that when we’ve hurt ourselves—twisted an ankle, sprained a knee, pulled a calf muscle—we’re supposed to get some ice on the injury stat to reduce swelling. Instead of reaching for a bag of frozen veggies or dealing with a plastic baggie full of ice cubes that’s sure to leak, stock up on some small paper cups that you can fill with water and store in your freezer. Then, when you’ve sustained an acute injury, you can grab a frozen cup and perform an ice massage on yourself.
Ice massages are a form of cryotherapy that are more beneficial than just slapping a bag of ice on your injury. In addition to combating inflammation by reducing blood flow, you can use ice cups to apply gentle pressure to the injury with continuous rotating movements to help mobilize the injured soft tissue. While you may leave an ice pack on your injury for around 20 minutes (provided you protect your skin by placing a towel between it and the ice pack), ice massages should only be performed for 3 to 5 minutes. It’s important to allow tissue to return to baseline temperature before reapplying ice—leave at least an hour between icing sessions.
Freezing water in Dixie cups makes for quick and easy ice applications. Of course, you can buy fancier ice cups specifically intended for cryotherapy, but those will run you between $6-$40.
ADVERTISEMENT
Massage sore quads with a car buffer.

If you suffer from chronic muscle soreness and have $300 to $500 laying around, buy yourself a Theragun and live happily ever after. If you don’t have that kind of cash, a $30 car buffer can accomplish just as much.
Soreness in the legs after skiing often comes from tight quads, hamstrings, and IT bands. Most die-hard skiers own at least one or two types of foam roller and dedicate half an hour before and after skiing to stretching and lengthening those muscles by rolling out on said foam rollers. But when muscles are really tight, foam rolling can be excruciatingly painful. Enter the car buffer, which can act as a handheld massage tool that accomplishes the same thing as a foam roller but applies far less pressure than the pressure applied by your body weight during foam rolling.
If using a car buffer, be sure to use it with a plush pad that won’t irritate your skin. If your skin is extra sensitive to friction, place a towel between your skin and the buffer.
ADVERTISEMENT
Relieve muscle tension with a mini plunger.
The moment you’ve all been waiting for: how to use a sink plunger as a recovery tool. If you’ve heard of cupping therapy, the use of a sink plunger won’t sound so unusual. Cupping is an ancient therapy where cups are suctioned to the skin to increase blood flow and reduce tension by plying myofascial tissue or scar tissue away from muscles and bones.
During one of my physical therapy visits to treat the pain I was still experiencing around my patellar tendon post ACL surgery, my therapist explained that he intended to use cups on my patellar tendon to loosen the fascia around the tendon while manually manipulating the cups to also break up scar tissue around the area. He excused himself from the treatment room to go get the cup set. But when he came back, he had a sink plunger in his hand, explaining the cup set was being used by another therapist, but the plunger would work just as well.
ADVERTISEMENT
And so he applied some lotion to my knee cap, affixed the plunger head to my knee, and began gently turning the handle to twist the skin this way and that to loosen the fascia around my scar.
It may be a very alternative form of therapy, but in my experience, a pretty effective one—the suction provides immediate tension release. And for those who suffer from chronic IT band tightness and pain, the sink plunger is even more effective on those big muscles.